DNS as code
Looks like I have 10 days to create 2 blog posts. To be open, it’s another attempt to become a creator, who makes at least 12 posts per year. Also, I decided, to make my write-ups a bit shorter and focused on one particular topic. That is why, today I will show you how to migrate existing Cloudflare configuration into OpenTofu manifests and make it even more cool with Scalr.
For context, I’m the owner of 3 domains, where one is used for my home lab. What does that it mean? I like to access my services without VPN, from anywhere in the world. Hopefully, Cloudflare provides a solution called tunnels. It could be used for exposing private endpoints/services directly on the internet, without setting up static IP(for example my ISP requires an additional fee for that), also we can easily add multiple “data centers”, for example, NUC under our desk, home NAS, or regular server in your parent's basement.
Import our resources
For importing our DNS settings I was using a tool called cf-terraforming.
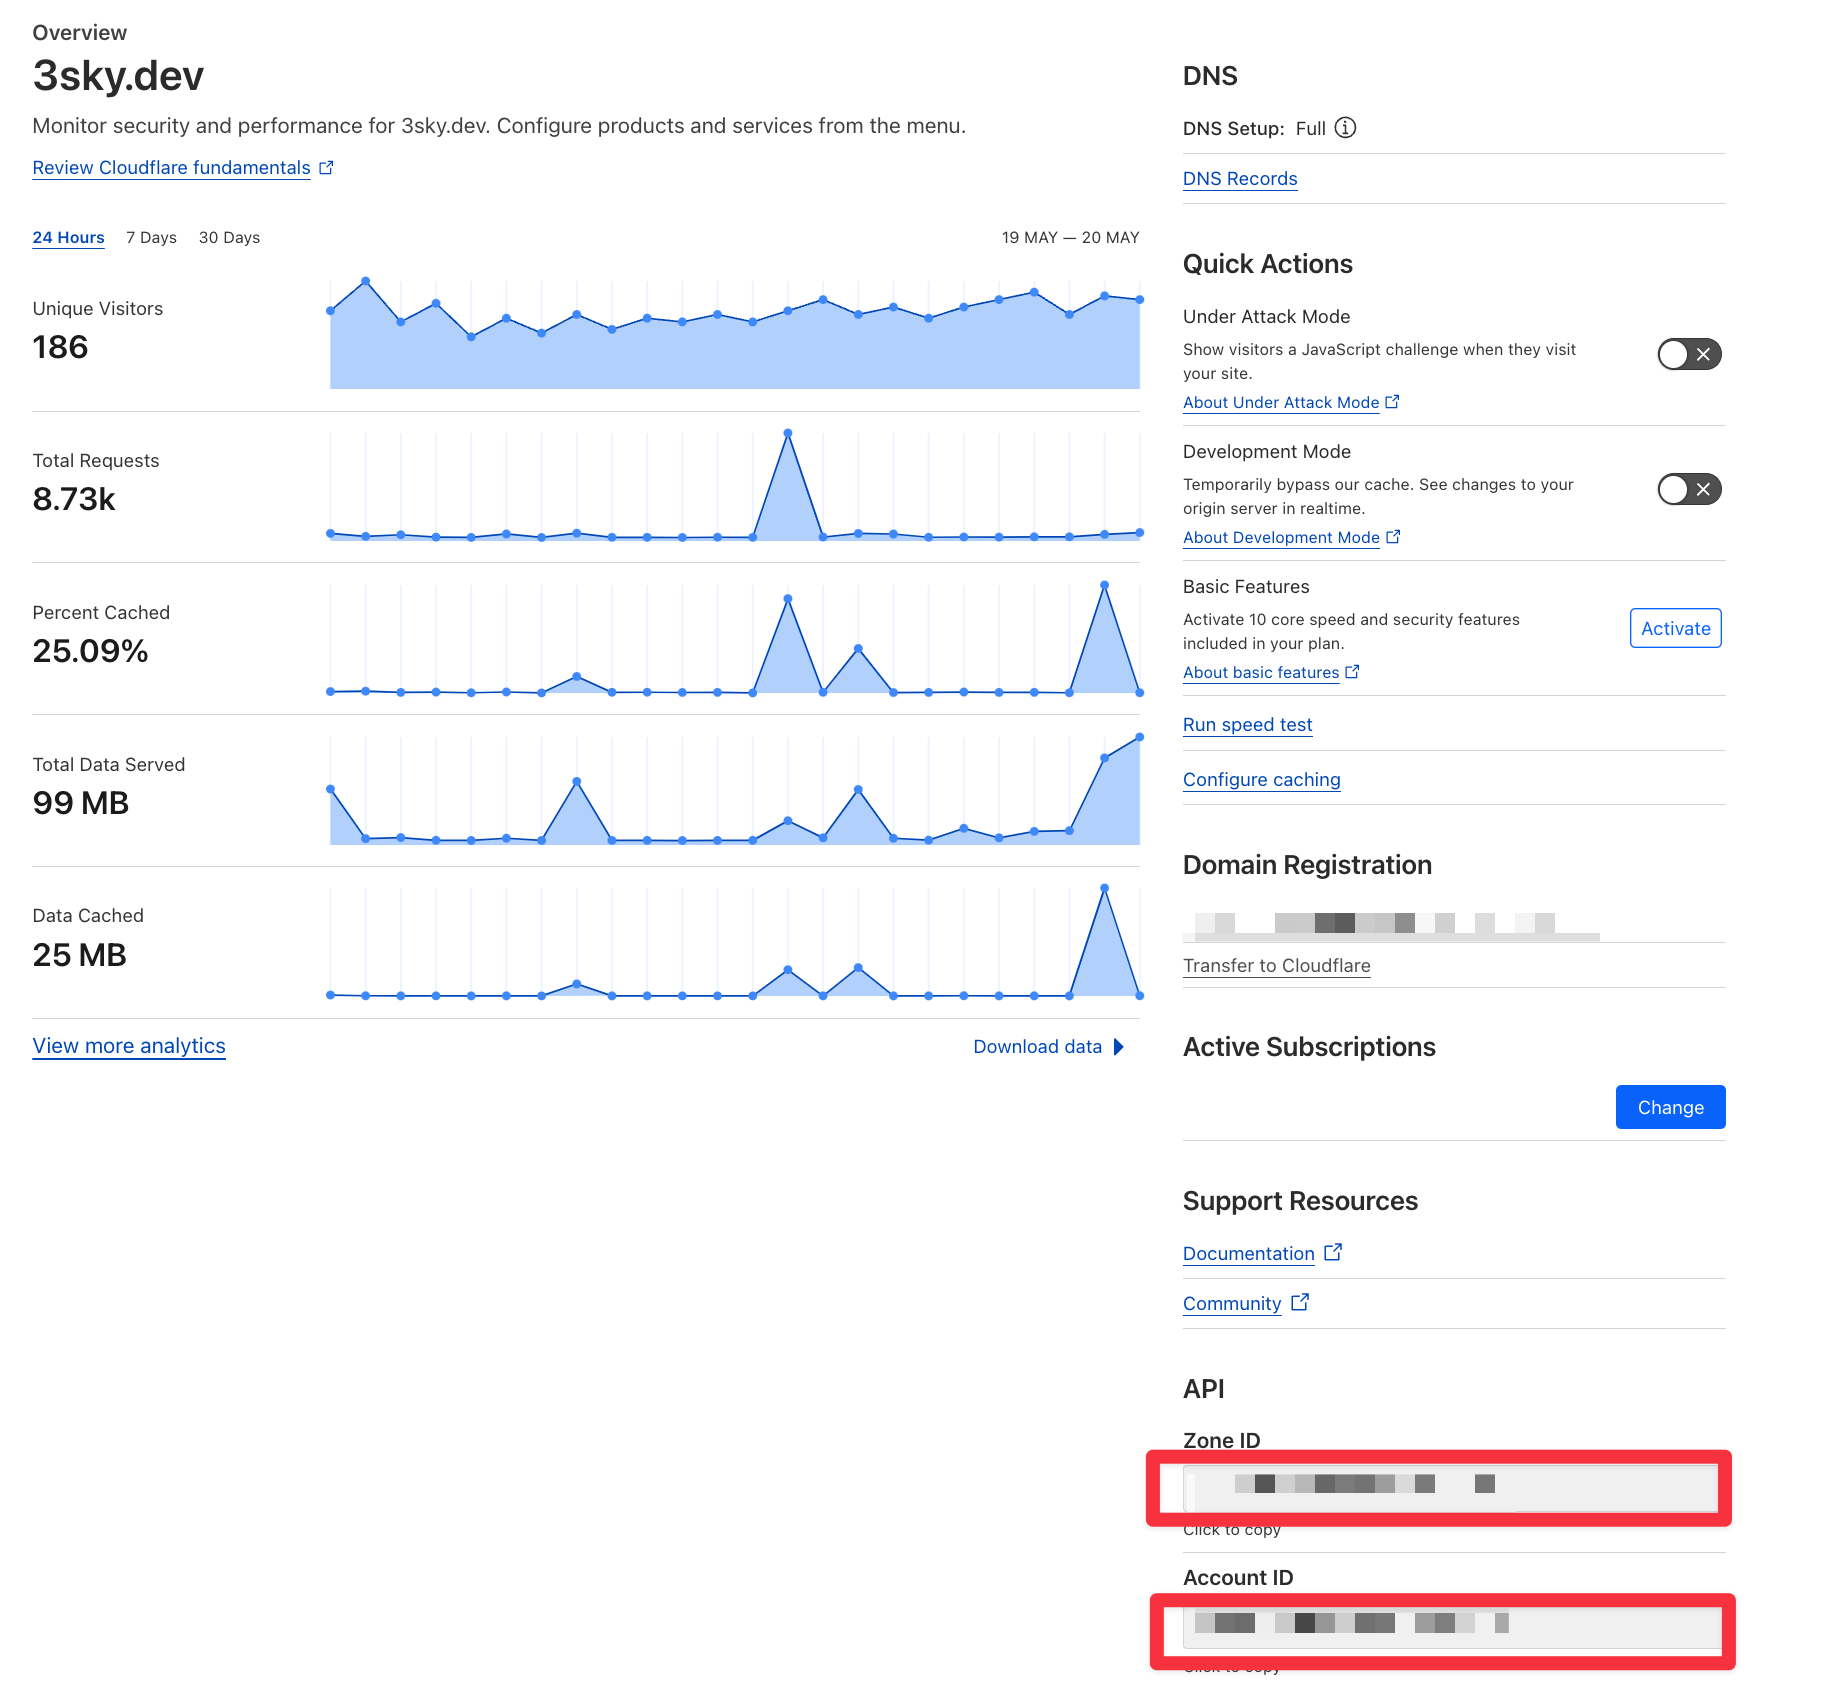
As the first step, we need to become more familiar with the Cloudflare name convention., but don’t panic. Essential variables are:
--zone string Target the provided zone ID for the command--account string Target the provided account ID for the command
The zone is an ID of your domain zone. Let’s assume that if you're managing example.com and hello.comdomains, every one of them has a dedicated zone ID.
Account ID is the same for all zones and represents your account identity.
 |
|---|
Great, now we need to generate tokens for our process.
- Login to your account
- Go to this page and generate the token.
- Try to grant the lowest possible permission, ideally one token per zone, per needed resource.
Now with the token stored in buffer, we can try to generate our first DNS entry.
1$ cf-terraforming generate -e your_email \
2    -t your_token \
3    -z your_zone_id \
4    --resource-type cloudflare_record
5FATA[0003] failed to detect provider installation
Wait, what? Provider? Yes, for this operation we already need to have an initialised Tofu project. Let’s then take a quick break, and talk about Tofu and Scalr configuration.
OpenTofu and Scalr
Now all of you know, that IBM acquired Hashicorp, unfortunately when I performing my migration, I have no idea about Hashicorp feature. Also, Terraform Cloud is ugly and unfriendly to use IMHO. That I why I decided to use OpenTofu as a drop-in replacement and try Scalr as one of many Terraform Cloud alternatives.
Ok, now it’s a good moment to talk about the final project structure. Based on my research and experience managing resources in the following structure will be very flexible and easy to use based on my scale and needs.
 1❯ tree .
 2.
 3├── account_a
 4│   ├── zone_1
 5│   │   ├── dns
 6│   │   │   ├── dns.tf
 7│   │   │   ├── dns.tf.bck
 8│   │   │   ├── providers.tf
 9│   │   │   └── vars.tf
10│   │   └── tunnels
11│   │       ├── outputs.tf
12│   │       ├── providers.tf
13│   │       ├── tunnels.tf
14│   │       └── vars.tf
15│   ├── zone_2
16│   │   └── dns
17│   │       ├── dns.tf
18│   │       ├── providers.tf
19│   │       └── vars.tf
20│   └── zone_3
21│       └── dns
22│           ├── dns.tf
23│           ├── providers.tf
24│           └── vars.tf
25├── LICENSE
26├── README.md
27├── main.tf
28└── vars.tf
29
309 directories, 18 files
As you can see, I have dedicated vars and providers per resource in the zone, but it gives me full control over my critical at the end part of the infrastructure. Especially in the case of using “a bit like beta” type of resources, for example, tunnels or zero trust modules. However, let’s start from scratch.
First our main.tf is very simple:
 1terraform {
 2  cloud {
 3    hostname     = "<hostname>"
 4    organization = "<org>"
 5
 6    workspaces {
 7      name = "<ws>"
 8    }
 9  }
10}
11
12module "zone_1_dns" {
13  source    = "./account_a/zone_1/dns"
14  api_token = var.zone_1_token
15}
In the beginning, we have Scalr config, which is very easy and similar to any other service provider. Also, I’m using Scalr as Terraform Backend for my service. Here you can find a dedicated post how to configure it. I will do it with the usage of fewer details, with the usage of pictures.
- Go to Workspaces and click ‘Create Workspaces’
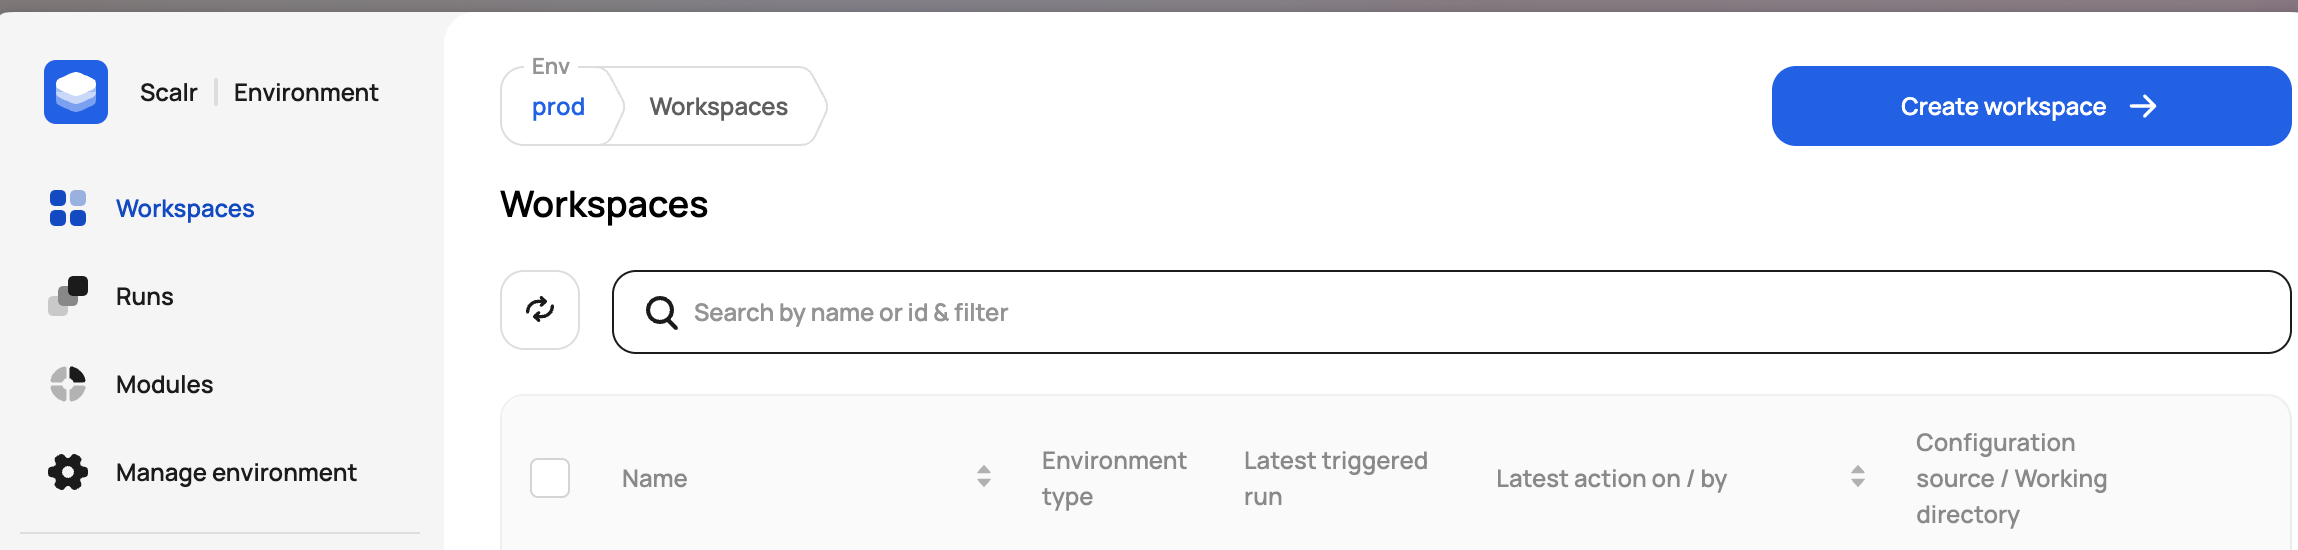
- Fill in the name, and add GitHub provider according to your preferences.
- Remember to use OpenTofu IaC Platform.
- Then create the workspace.
Now that we have our account configured we can fill our main.tf according to description:
The hostname argument refers to our instance of Scalr, the organization refers to the environment within our instance, and a workspace is just a workspace!
Ok, now we need to add our first module.
1mkdir -pv ./account_a/zone_1/dns
Then let’s add ./account_a/zone_1/dns/providers.tf file:
 1terraform {
 2  required_version = "~> 1.5"
 3  required_providers {
 4    cloudflare = {
 5      source  = "cloudflare/cloudflare"
 6      version = "4.28.0"
 7    }
 8  }
 9}
10
11provider "cloudflare" {
12  api_token = var.api_token
13}
./account_a/zone_1/dns/vars.tf file:
1variable "api_token" {
2  type        = string
3  description = "Cloudflare API token"
4  sensitive   = true
5}
./vars.tf file:
1variable "zone_a_token" {
2  type        = string
3  description = "Cloudflare API token for zone A"
4  sensitive   = true
5}
And to avoid unnecessary typing .auto.tfvars
1zone_1_token = "secret-token"
After that, we can try to init our project (and plan to make sure that Scalr connection is fine)
 1$ tofu init
 2[...]
 3$ tofu plan
 4tofu plan
 5[...]
 6No changes. Your infrastructure matches the configuration.
 7
 8OpenTofu has compared your real infrastructure against your configuration and
 9found no differences, so no changes are needed.
10[...]
Great, we’re finally ready to generate our DNS entries.
 1$ cf-terraforming generate \
 2    -e your_email \
 3    -t your_token \
 4    -z your_zone_id \
 5    --resource-type cloudflare_record
 6FATA[0003] failed to read provider schemaexit status 1
 7
 8Error: Failed to load plugin schemas
 9
10Error while loading schemas for plugin components: Failed to obtain provider
11schema: Could not load the schema for the provider
12registry.terraform.io/cloudflare/cloudflare: failed to instantiate provider
13"registry.terraform.io/cloudflare/cloudflare" to obtain schema: unavailable
14provider "registry.terraform.io/cloudflare/cloudflare"..
Ah, drop-in replacement right? Yes, but actually no, if terraform is required by another tool. But hey! It’s only a home project.
DNS generation
Small fix, and bum!
 1$ rm -rf .terraform .terraform.lock.hcl
 2$ terraform version
 3Terraform v1.5.7
 4on darwin_arm64
 5
 6[...]
 7$ terraform init
 8[...]
 9$ cf-terraforming generate -e your_email -t your_token -z your_zone_id --resource-type cloudflare_record
10
11resource "cloudflare_record" "terraform_managed_resource_16e2c78bf8ed9b72215f56cc7fd" {
12  name    = "example.com"
13  proxied = true
14  ttl     = 1
15  type    = "A"
16  value   = "23.21.20.120"
17  zone_id = "your_zone_id"
18}
19
20resource "cloudflare_record" "terraform_managed_resource_74824bf72d4607c154097887d66" {
21  name    = "example.com"
22  proxied = true
23  ttl     = 1
24  type    = "A"
25  value   = "23.21.20.19"
26  zone_id = "your_zone_id"
27}
28
29resource "cloudflare_record" "terraform_managed_resource_06a882256f1ed1b393253633d6c1" {
30  name    = "www"
31  proxied = true
32  ttl     = 1
33  type    = "CNAME"
34  value   = "example.com"
35  zone_id = "your_zone_id"
36}
In general, we can even redirect command output to file and populate ./account_a/zone_1/dns/dns.tf
1$ cf-terraforming generate \
2    -e your_email \
3    -t your_token \
4    -z your_zone_id \
5    --resource-type cloudflare_record > ./account_a/zone_1/dns/dns.tf
Fast terraform plan , and please notice to things.
- Scalr is still using OpenTofu), even if you used
terraform plancommand on your workstation. - We’re going to create 3 records, even if they already exist… and that’s the problem we need to resolve.
 1$ terraform plan
 2Running plan in Terraform Cloud. Output will stream here. Pressing Ctrl-C
 3will stop streaming the logs, but will not stop the plan from running remotely.
 4
 5Preparing the remote plan...
 6
 7To view this run in a browser, visit:
 8https://example.scalr.io/app/prod/my-awesome-cloudflare-config/runs/run-v0oce2teqmu10eo0k
 9
10Waiting for the plan to start...
11
12OpenTofu v1.7.1
13[...]
14Plan: 3 to add, 0 to change, 0 to destroy.
15[...]
Importing config
Thankfully we can use import flag of the cf-terraforming tool. Let’s use it then:
1cf-terraforming import \
2  -e your_email \
3  -t your_token \
4  -z your_zone_id \
5  --resource-type cloudflare_record --modern-import-block >> main.tf
Now we should be able to import our resources right? Not yet. Cf-terraforming does not respect file structure, so our imports have the following format:
1import {
2  to = cloudflare_record.terraform_managed_resource_16e2c78bf8ed9b72215f56cc7fd
3  id = "1fca8e4a1d16a9cdccc3f9f30ebb6317/06a882256f1ed1b39322f7453633d6c1"
4}
Unfortunately, this will produce an error:
 1 terraform plan
 2[...]
 3------------------------------------------------------------------------
 4
 5╷
 6│ Error: Configuration for import target does not exist
 7│
 8│   on main.tf line 16:
 9│   16: import {
10│
11│ The configuration for the given import
12│ cloudflare_record.terraform_managed_resource_16e2c78bf8ed9b72215f56cc7fd
13│ does not exist. All target instances must have an associated configuration
14│ to be imported.
And that is very easy to solve, in our main.tf file just add a module.<module_alis_> prefix. (It could be painful in case of big import).
1import {
2  to = module.zone_1_dns.cloudflare_record.terraform_managed_resource_16e2c78bf8ed9b72215f56cc7fd
3  id = "1fca8e4a1d16a9cdccc3f9f30ebb6317/16e2c78bfd13568ed9b72215f56cc7fd"
4}
Now we can test our manifests by executing terraform plan:
1$ terraform plan
2[...]
3Plan: 3 to import, 0 to add, 0 to change, 0 to destroy.
4[...]
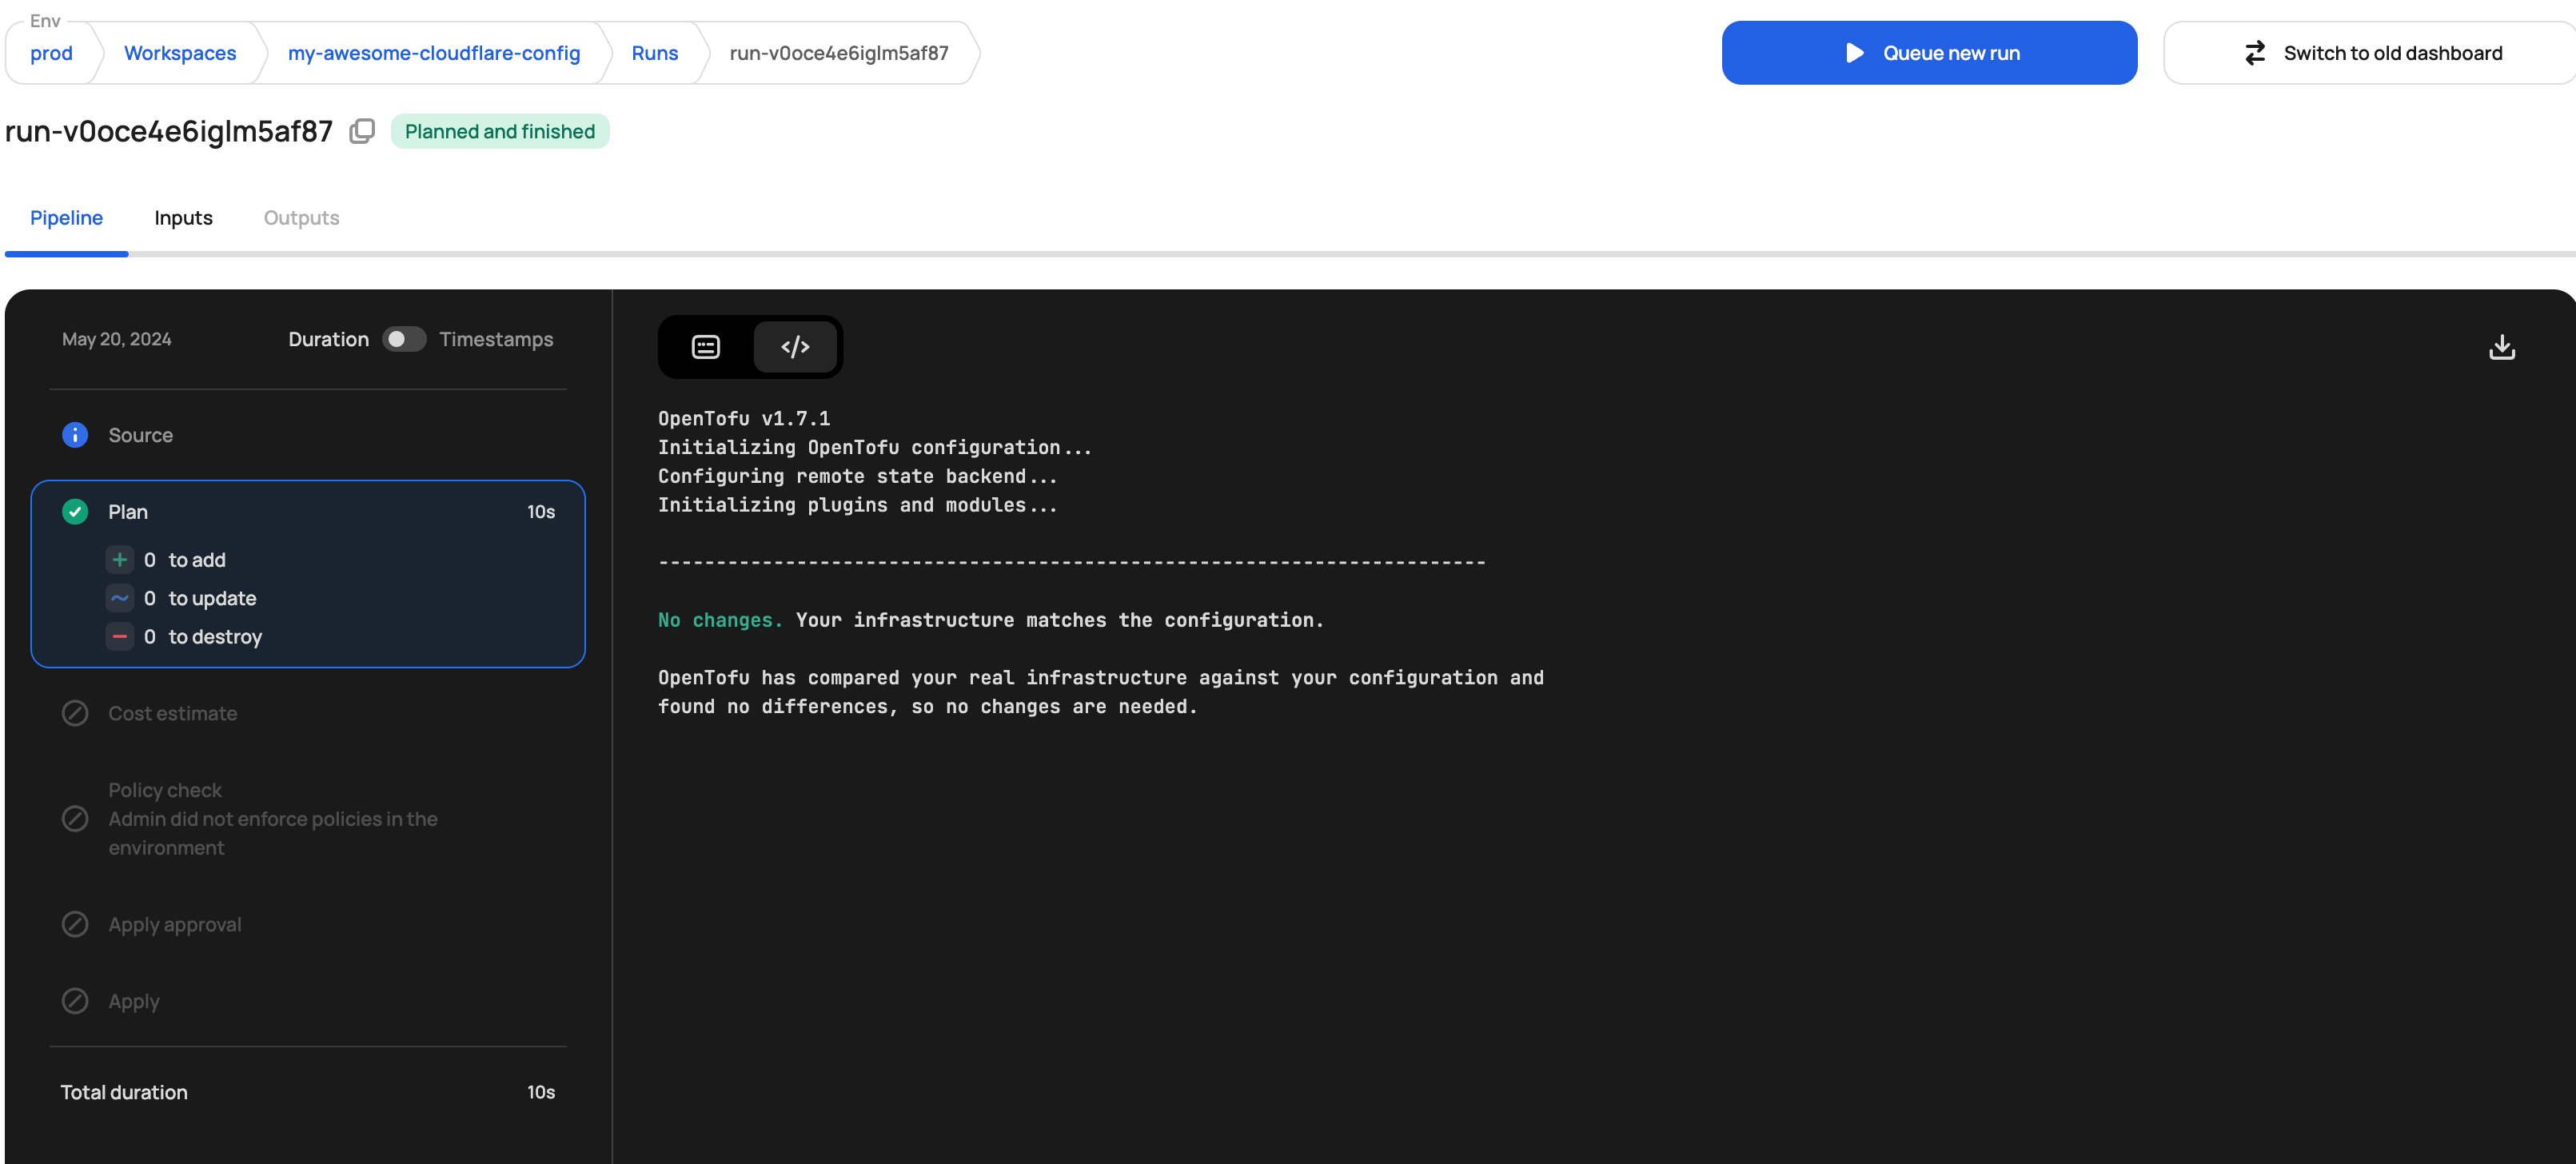
Now stop! Do not apply by hand. We have Scalr for it, right? The only thing you need to do is push your code to the repository(and add a token as a variable in the Scalr console). After push you should see something like this in your web console:
 |
|---|
Final notes
- As we planned first, the pushing code does nothing, and does not populate the state, but further declaration will do as well as polish the state.
- You can migrate to OpenTofu again, as soon as you migrate all Cloudflare blocks from Cloudflare’s API.
- Not all objects are supported by
cf-terraformingtool, for example, tunnels. You can check supported resources here - You can visit this repo template on GitHub.
Summary
Uff, that was an interesting adventure, right? As you can see, Scalr is just fine and provides all the features I can expect from my “remote backend” service. OpenTofu in case of regular projects can act as a drop-in Terraform replacement, at least for today. Cloudflare is great, even if you’re on the free tier, and you’re the product.