Setup GoToSocial on AWS Lightsail

That will be a short microblog-style post. As you may know AWS Community Builders, as part of the program benefits are receiving 500$ per year of AWS Cloud credits. Seems a lot, however, domain name registration is excluded, also based on on-demand pricing, 500$ is ok for test ideas, or writing content. Not very good, for long-running services different from S3. However, some time ago I thought about running software on VMs. Not inside containers just as binary. So, why not to use Lightsail? It's simple, even too simple. Thankfully it has, a stable low price, especially if we decide to go with IPv6.
Lightsail
Build applications and websites Fast with low-cost, pre-configured cloud resources
The problem with Lightsail is the level of simplicity. You have fewer options, than with the usage of EC2. You can just sping your instance, choose keys, basic firewall, assign tags and that's is more-less all. Don't believe me? Check Terraform module.
Is that good? In some cases yes. Setting simple 5$/month machine, CentOS-stream included, and Ipv4 (for setup time only) it's possible with a few lines of code, and looks like that:
 1terraform {
 2  required_version = ">= 1.12.1"
 3  required_providers {
 4    aws = {
 5      source  = "hashicorp/aws"
 6      version = "5.94.1"
 7    }
 8  }
 9}
10
11provider "aws" {
12  region = "eu-central-1"
13}
14
15resource "aws_lightsail_instance" "gotosocial-instnace" {
16  name              = "my-great-app"
17  availability_zone = "eu-central-1a"
18  blueprint_id      = "centos_stream_9" #  aws lightsail get-blueprints | jq ".blueprints[].blueprintId"
19  bundle_id         = "micro_3_0"       #  aws lightsail get-bundles
20
21  # regular aws_key_pair is not supported here
22  # also needs to be just RSA, ed25519 is not accepted
23  user_data = <<-EOF
24    #!/bin/bash
25    mkdir /home/ec2-user/.ssh
26    echo "ssh-ed25519 AAAAC3NzaC1lZDI1NTE5AAAAIJxYZEBNRLXmuign6ZgNbmaSK7cnQAgFpx8cCscoqVed local" > /home/ec2-user/.ssh/authorized_keys
27    chmod 0700 /home/ec2-user/.ssh
28    chmod 0600 /home/ec2-user/.ssh/authorized_keys
29    chown -R ec2-user:ec2-user /home/ec2-user/.ssh
30    dnf update -y
31  EOF
32
33  tags = {
34    Environment = "Development"
35    Project     = "GoToSocial"
36  }
37}
38
39resource "aws_lightsail_instance_public_ports" "open-22" {
40  instance_name = aws_lightsail_instance.gotosocial-instnace.name
41
42  port_info {
43    protocol  = "tcp"
44    from_port = 22
45    to_port   = 22
46  }
47}
48
49output "ipv4-ip" {
50  value = aws_lightsail_instance.gotosocial-instnace.public_ip_address
51}
As you can see some comments, let's discuss them.
- We can find the correct blueprint with
aws lightsail get-blueprints --query "blueprints[].blueprintId". Important note is that we can deploy not only fresh OS, but sets like WordPress, or drupal. - Then in the case of size, we have bundles, different than in the case of EC2.
- user-data. Due issues with adding keys, supported format, etc, I prefer putting them directly.
- The only needed port for now is
tcp/22for SSH.
Good! After running tf init && tf apply --auto-approve, we're
getting fresh IPv4's IP address.
To log in we need:
1ssh ec2-user@18.195.148.23 -i ~/.ssh/id_ed25519_local
Please note, that as long as we have open port 22, we can use SSM, to establish a connection from the Terminal/WebUI level.
Tailscale
But, hey! We would like to use IPv6, mostly for reducing costs. The problem is that most ISPs (or at least Orange in Poland) do not support IPv6, so using agent-based VPN, just simplify our setup a lot!
How to install the agent on Linux VM? Very simple. In most cases just:
1sudo dnf config-manager --add-repo https://pkgs.tailscale.com/stable/centos/9/tailscale.repo
2sudo dnf install tailscale
3sudo systemctl enable --now tailscaled
4sudo tailscale up
Then based on your Tailnet config, you need to accept it, copy your IP , and bum:
1ssh ec2-user@100.81.150.51 -i ~/.ssh/id_ed25519_local
2Last login: Wed May 28 11:36:04 2025 from 100.116.167.109
3[ec2-user@ip-172-26-11-7 ~]$
Ok, at this point we can just delete
resource "aws_lightsail_instance_public_ports"
block from our Terraform manifest, and re-apply config.
Cloudflare
The next topic is access to our instance from the outside. Based on my self-hosting experience, using Cloudflare Tunnels are just the easiest possible way of hosting apps in a small environment, without taking care about setting nginx on our own.
Basically what to do?
Click tunnel panel
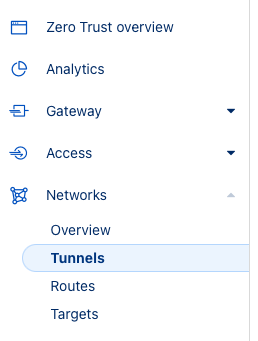
Zero trust view, choose tunnel under networking Click
Create a tunnel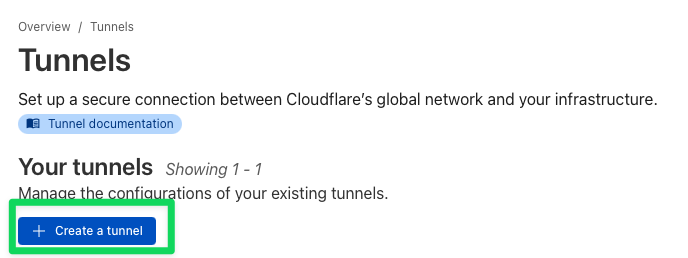
New tunnel view, creation of new tunnel Use
Cloudflaredas tunnel type
Tunnel type view Add the name of the tunnel

Tunnel creator view Copy configuration part(especially token) on side
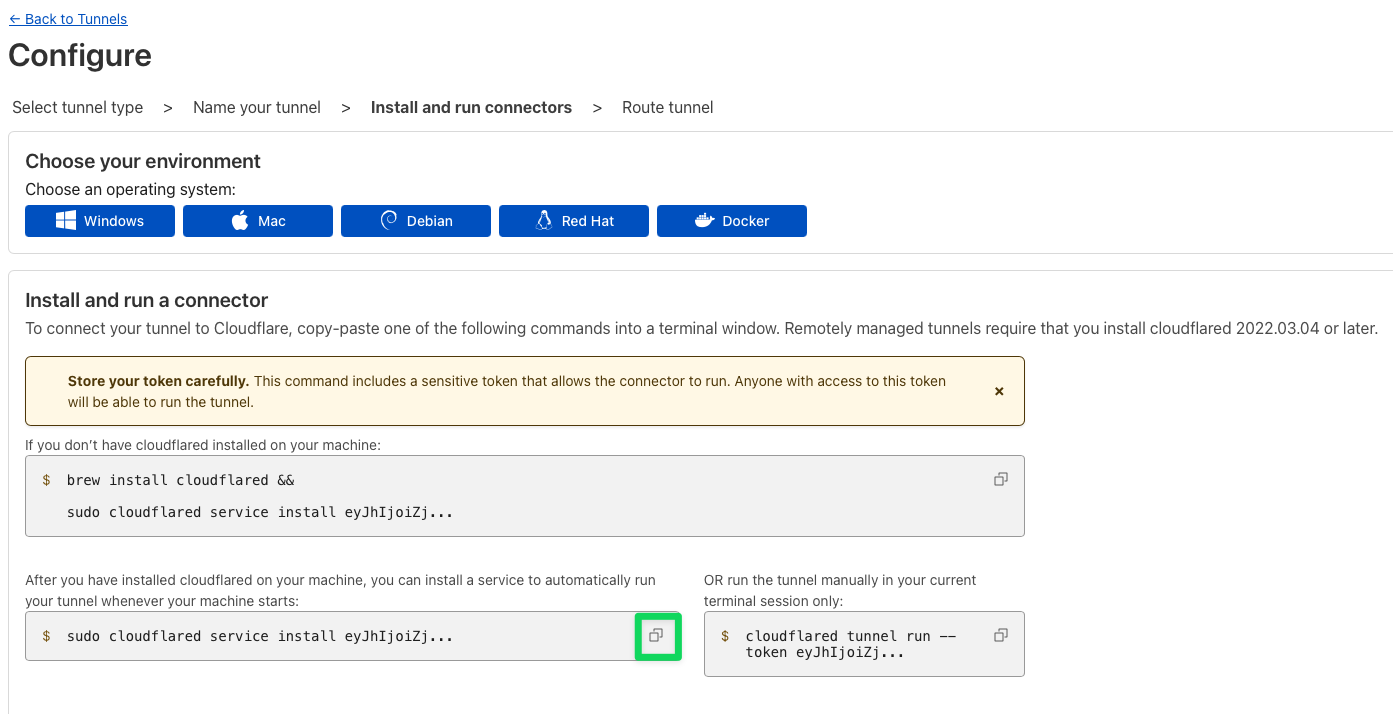
Service install tab Configure your tunnel (finally)
- Use a subdomain for your tunnel, for example,
social. - Choose a domain in my case
jakubwolynko.eu. - The service is related to your app, it could be HTTP.
- URL, so in case of binary deployment classic -
localhost:<port>
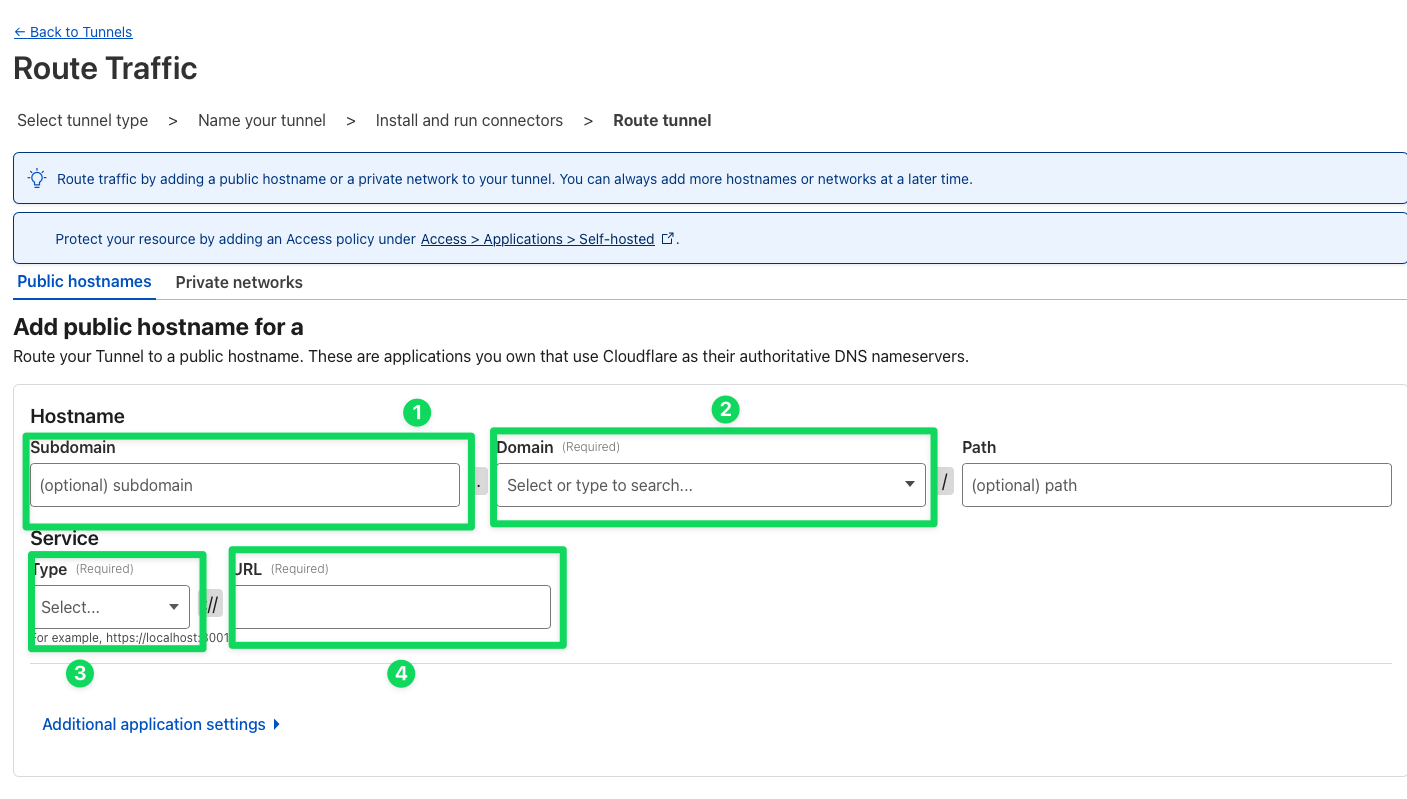
Tunnel configuration view - Use a subdomain for your tunnel, for example,
At this point we have all prerequisites ready to install our app on Lightsail. It's not necessary to use GoToSocial, it could be almost anything you will find on this list.
GoToSocial
Ok, stop. What is GoToSocial?
GoToSocial is an ActivityPub social network server, written in Golang. GoToSocial provides a lightweight, customizable, and safety-focused entryway into the Fediverse. With GoToSocial, you can keep in touch with your friends, post, read, and share images and articles. All without being tracked or advertised to!
Still not clear? So it's your instance of the so-called Fediverse. Think about it as on your own Twitter sever, where you are an Elon, It's just empty, and not federated - yet.
Installation
We can just over the docs. here.
So steps will be:
Directory creation
1sudo mkdir /gotosocial && cd /gotosocialGetting the recent package
1GTS_VERSION=X.Y.Z # Replace this
2GTS_TARGET=linux_amd64
3wget https://codeberg.org/superseriousbusiness/gotosocial/releases/download/v${GTS_VERSION}/gotosocial_${GTS_VERSION}_${GTS_TARGET}.tar.gz
Extract it
1tar -xzf gotosocial_${GTS_VERSION}_${GTS_TARGET}.tar.gzCreation of
gotosocial.servicefile1wget https://codeberg.org/superseriousbusiness/gotosocial/raw/branch/main/example/gotosocial.service -O gotosocial.serviceCopy systemd service
1sudo cp gotosocial.service /etc/systemd/system/User management
1sudo useradd -r gotosocial
2sudo groupadd gotosocial
3sudo usermod -a -G gotosocial gotosocial
4sudo chown -R gotosocial:gotosocial /gotosocial
Insert base configuration into
config.yamlNote, that I'm using port
8080, just to avoid unnecessary permission forgotosocialuser.1host: social.jakubwolynko.eu 2port: 8080 3storage-local-base-path: /gotosocial/storage 4db-type: "sqlite" 5db-address: "sqlite.db" 6 7instance-languages: ["pl", "en"]Enable and start service
1sudo systemctl enable --now gotosocial.service
2sudo systemctl start gotosocial.service
At this point, our service is running. The last step is to expose it
via the Cloudflare tunnel. Do you remember the step, when we copied our
service install command? Now we need it.
Install cloudflared service.
1sudo cloudflared service install eyJhIjoiZ...
Now as long, as we're on Ipv4 it's all good.
Unfortunately at some point, we would like to change it.
That is why we need one small tweak in /etc/systemd/system/cloudflared.service.
1# FROM
2ExecStart=/usr/bin/cloudflared tunnel run --token eyJhIjoiZ...
3
4# INTO
5ExecStart=/usr/bin/cloudflared --edge-ip-version 6 tunnel run --token eyJhIjoiZ...
Big test
Now we need to go into AWS Console and change our network options from IPv4 to IPv6.
Change network type
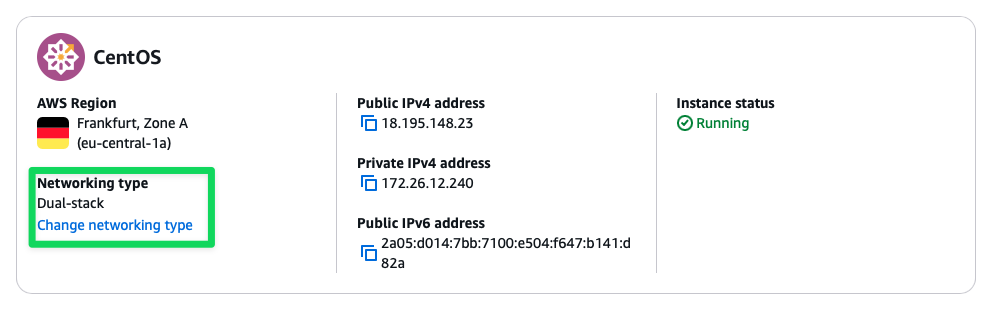
General Instance view Choose IPv6-only and confirm all steps
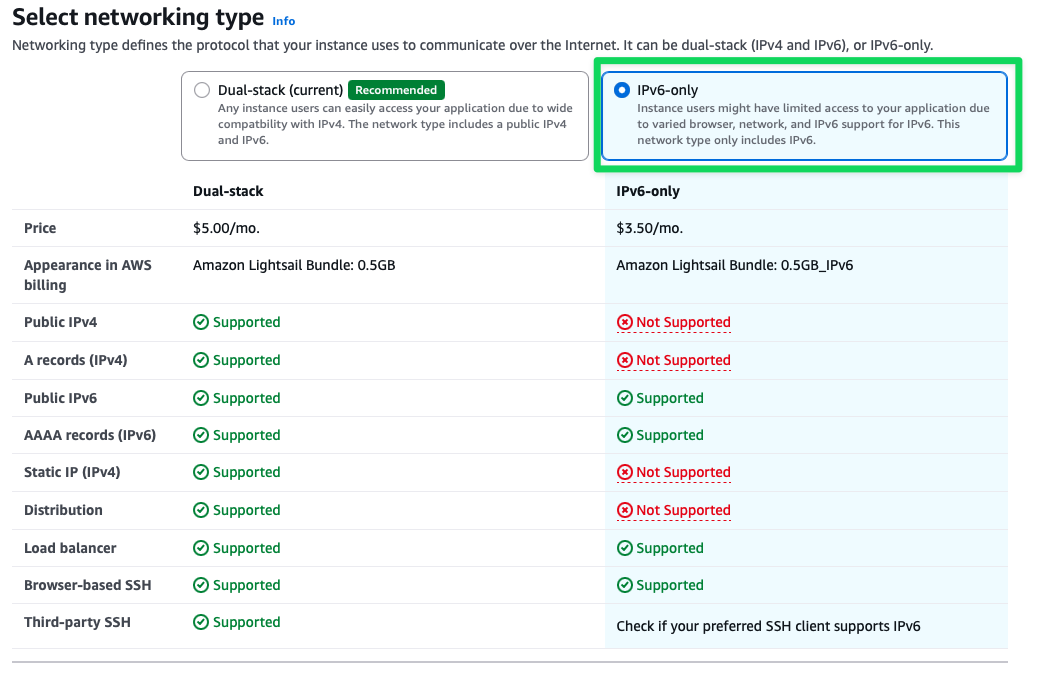
Select Network Type view
Ok, after that let's check our SSH connection over Tailscale, as well as our application access over Cloudflare.
1$ curl -s https://social.jakubwolynko.eu/ | grep About
2                    <h3 id="about">About this instance</h3>
3                            About social.jakubwolynko.eu
Summary
And here we are, with setting instance for 5$, or even 3.5$, covered entirely via the AWS Community Program. That is nice, not only for GoToSocial, but also for miniflux, N8N, or anything, you could self-host, but EC2 was too expensive, for personal usage.
Additional note, I'm not using GoToSocial anymore. Seems like having empty instances, and content based on connected folks' action/reaction is just too little for me. That's why I decided to use hachyderm.io.
So, host your own stuff fellows Community Builders!
And to code is here at codeberg.org.